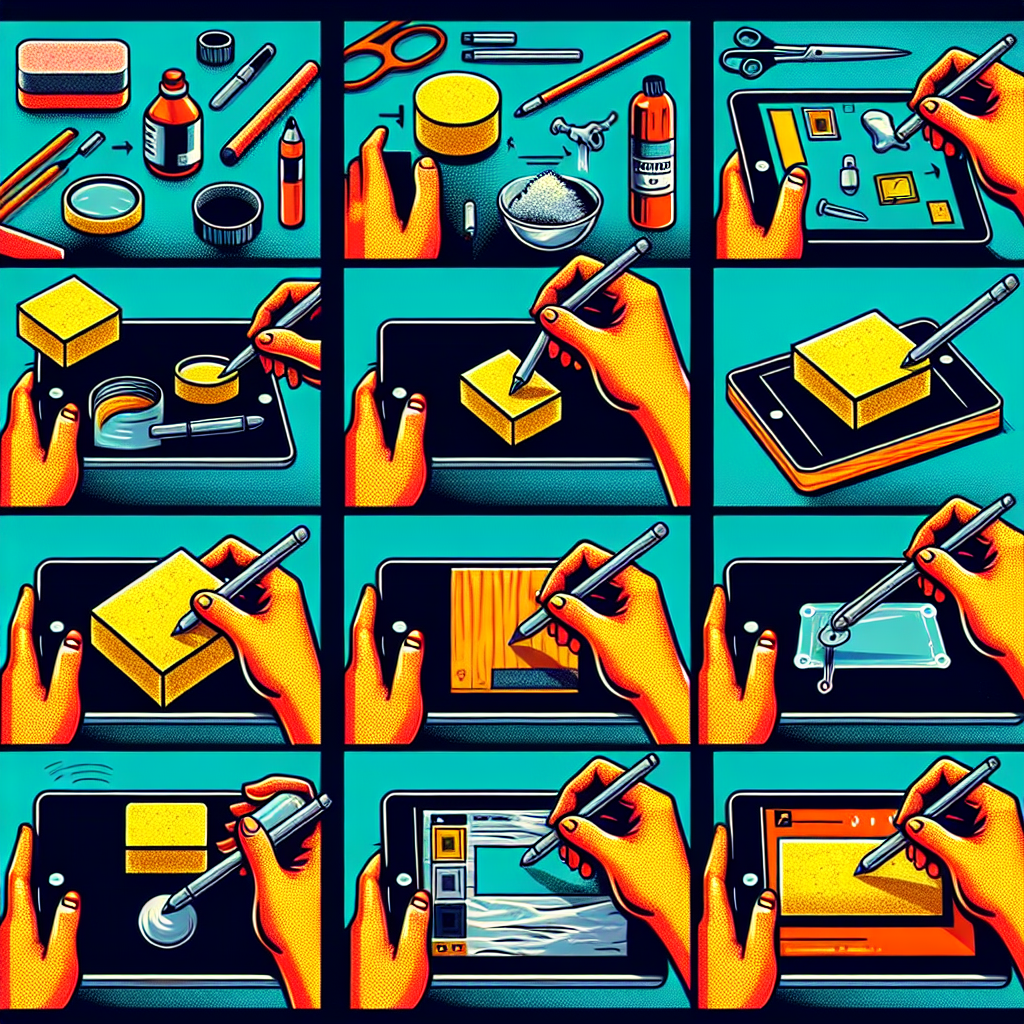
How to Make a Stylus for iPad?
The iPad is an innovative device that offers a range of functionalities. One of the most useful accessories for an iPad is a stylus. It allows for precision, ease of use, and can enhance productivity, especially for tasks that require fine control such as drawing, note-taking, and graphic design. In this article, we will guide you through the steps to create your own stylus for your iPad.
Why Make Your Own Stylus?
While there are many styluses on the market, making your own can be a fun, educational, and cost-effective project. It also allows you to customize the stylus to your liking and materials available.
- Cost-effective: Making your own stylus can save money compared to purchasing one.
- Customization: Choose materials and designs that best suit your needs.
- Eco-friendly: Use recycled materials to create your stylus.
Materials You’ll Need
Before we dive into the steps, let’s gather the necessary materials:
- Pencil or Pen: This will serve as the body of your stylus.
- Aluminum Foil: Provides conductivity to make the stylus work.
- Cotton Swab: Acts as the tip of your stylus.
- Scissors: To cut materials to size.
- Transparent Tape: To secure the materials together.
Step-by-Step Guide to Making a Stylus
Step 1: Prepare the Body
Choose a pencil or pen that you’re comfortable holding. If you’re using a pencil, make sure it’s unsharpened to avoid any discomfort while using it.
Step 2: Cut the Cotton Swab
Take a cotton swab and cut it in half. You only need one half for the stylus. Ensure the cut is clean to avoid frayed edges.
Step 3: Attach the Cotton Swab to the Pencil/Pen
Securely attach the cotton swab to the tip of your pencil or pen using transparent tape. Ensure that it is firmly held in place.
Step 4: Wrap Aluminum Foil
Next, take a piece of aluminum foil and wrap it around the body of the pencil or pen, covering both the barrel and the cotton swab. Leave some swab-tip exposed to interact with the iPad screen. The foil should be snug but allow you to comfortably grip the stylus.
Step 5: Secure the Foil with Tape
Use transparent tape to secure the aluminum foil in place. Ensure the tape does not cover the tip of the cotton swab.
Step 6: Test Your Stylus
Now, it’s time to test your new stylus. Open any drawing or note-taking app on your iPad and try writing or drawing with it. The screen should respond to the stylus touch. If it doesn’t, make sure your aluminum foil is making contact between the cotton swab and your fingers as it’s needed for conductivity.
Additional Tips
- Comfort: If the aluminum foil feels uncomfortable, you can wrap another layer of tape around it to make a smoother grip.
- Durability: While this DIY stylus is simple to make, it might not be durable for long-term use. For a longer-lasting solution, consider investing in a commercial stylus.
- Multiple Uses: These DIY styluses can work on other capacitive touchscreens, not just the iPad. Smartphones and other tablets can also respond to them.
Conclusion
Creating your own stylus for your iPad is a rewarding and straightforward project. With just a few materials and some creativity, you can have a functional stylus that enhances your productivity and creativity. Whether you’re drawing, taking notes, or navigating through apps, your DIY stylus will serve as a handy tool.
If you enjoyed this DIY guide, share it with others who might find it useful. Experiment with different materials and designs to find out what works best for you. Happy crafting!

Leave a Reply